Quick answer: If the date is burned into the pixels, start with an AI watermark remover, keep the selection tight, then do a small manual pass only where a face or edge still looks soft. If it is only metadata, strip or hide it instead. Edit only photos you own or are allowed to change.
A date stamp is not quite like other watermarks. It usually sits in one corner, but it can still spoil an otherwise good photo.
The good news: date stamps are often easier to remove than large logos. The hard part is keeping nearby faces, edges, and texture sharp once the numbers are gone.
This guide shows the safest way to do it, the mistakes to avoid, and when to use AI, manual cleanup, or both.

Is it a real stamp or just metadata?
Not every date on a photo is part of the image. There are two common cases.
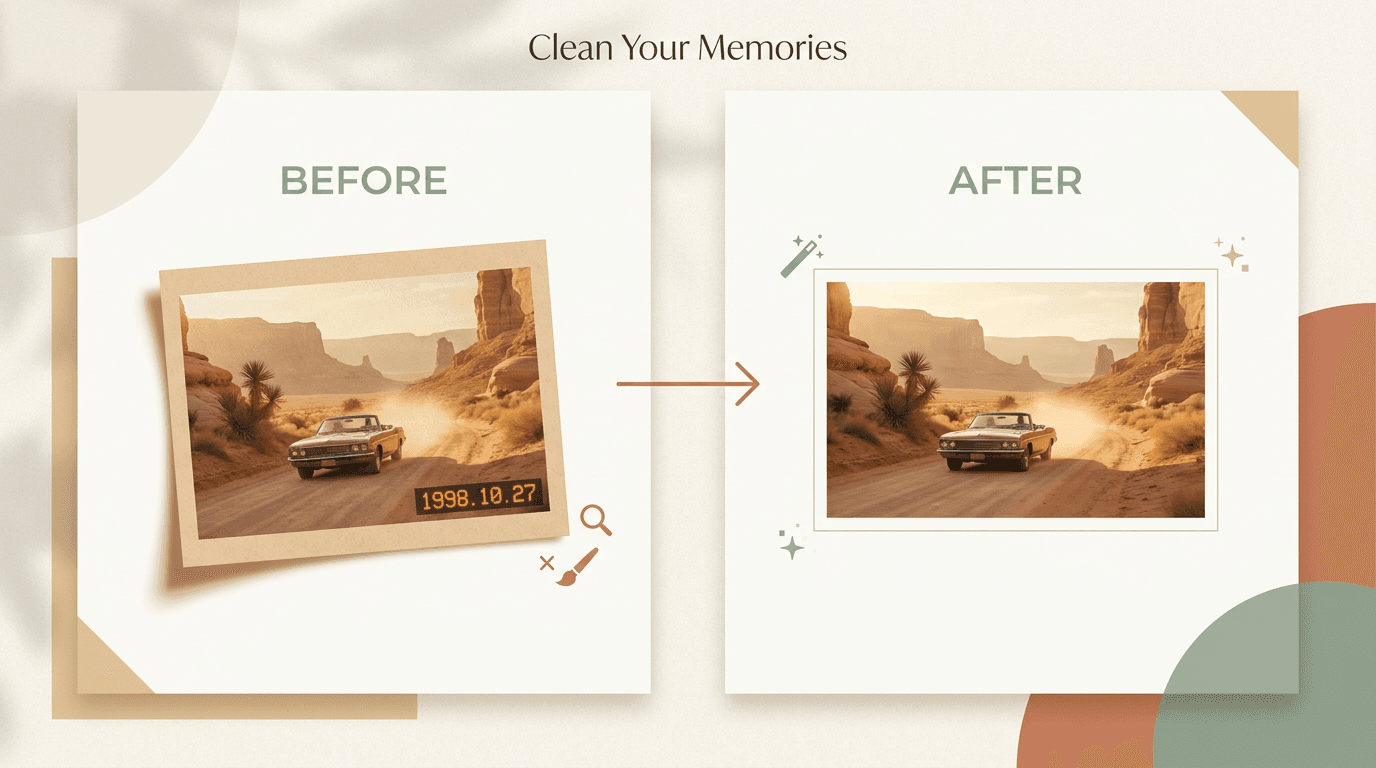
- Burned-in date stamp. The numbers are printed on the actual pixels. You see them in any app, screenshot, or export.
- Metadata date. The date is stored in the file information. Some apps show it in the viewer, but it is not part of the image itself.
This matters because metadata is much easier to handle. If the date is only metadata, you can often hide it in your photo app, export a copy without it, or strip the file info before sharing.
If the date is burned into the pixels, you need image editing.
| What to compare | Burned-in date stamp | Metadata date |
|---|---|---|
| Where it lives | In the pixels of the image | In the file details, not the image |
| How to check | Still shows in a screenshot or export | Disappears in a screenshot; only in file info |
| How to remove | Rebuild the corner with a watermark remover or editor | Hide or strip the metadata when you share |
| Risk to the photo | Some, if the stamp covers detail | None, the pixels are untouched |
Pro tip: Take a quick screenshot of the photo. If the date is still there, it is burned in. If it vanishes, it was only metadata and you can skip the editing entirely.
When date stamp removal works well
Removal usually goes smoothly when the stamp sits on a simple area:
- sky
- sand
- grass
- water
- plain walls
- out-of-focus backgrounds
These areas are easy to rebuild because the missing texture is simple.
Be more careful when the stamp covers a face, fingers, hair, building edges, patterned fabric, fine text, or a strong shadow line. Those details smear or bend if you remove too much at once.
The best method for most people
For most photos, this workflow gives the cleanest result:
- Make a copy of the original photo.
- Upload the copy to an AI remover.
- Mark only the date stamp and a very small border around it.
- Let the tool rebuild the hidden area.
- Zoom in and inspect the corner at full size.
- Fix small defects by hand if needed.
This works because AI is fast on the first pass, but your eyes are still better at judging whether a corner looks natural.
How to remove a date stamp with AI
AI works best when the selection stays tight.
- Open the photo in your remover tool.
- Brush over the date stamp only.
- Include just enough extra space to cover the shadow or glow around the numbers.
- Run the cleanup.
- Review the corner at 100% zoom.
If the result looks soft, do not keep painting a larger and larger area. That usually makes the corner worse. Instead, undo the change, make a smaller selection, and run a second pass. Small, careful selections give cleaner results.
When manual cleanup is better
Manual cleanup is the better choice when the date touches a face or skin, crosses a straight edge, or sits over fine texture. It also helps when the AI result left a blur, smear, or repeated pattern.
In those cases, use healing, clone, or inpainting in short strokes. Work on one part at a time: fix the background first, then the edge, then the final small marks.
Will removing a date stamp blur the background?
It can, but only if you remove too much. Blur and smearing come from selecting a large area and asking the tool to invent a lot of new texture.
Keep the area tight and the background usually stays sharp. If a corner does turn soft, undo and try a smaller selection rather than a bigger one.
These habits keep faces and backgrounds clean:
- Start with the largest file you have.
- Zoom in before each pass.
- Keep your selection smaller than you think.
- Protect eyes, fingers, and edge lines from large edits.
- Compare the repaired corner with the opposite side of the image.
Pro tip: If the stamp crosses both a subject and a background, rebuild the background first, then clean the edge of the subject in a second step. That order looks far more natural.
Common mistakes that make a photo look fake
Most bad edits come from the same few habits:
- selecting too much area
- working from a small screenshot instead of the original file
- leaving a blurry patch in a sharp photo
- bending a straight line near the corner
- repeating the same texture in a visible way
If the result looks off, ask one question: does this corner match the rest of the photo? If not, redo only that small part.
What to expect from the final result
You can often get a very clean result on simple corners, a strong result with minor touch-up on medium-detail photos, and a usable result on hard photos with more manual work.
You should not expect perfect recovery every time (yet). If the date stamp covered important detail, part of the repair is still an educated guess.
Is it legal to remove a date stamp?
Only remove a date stamp from images you own or are allowed to edit. Do not use this process to break copyright, contract, privacy, platform, or other rules.
If the image belongs to a client, employer, or family member, make sure you have permission before you change it.
Final recommendation
First, check whether the date is only metadata. If it is, strip or hide the metadata instead of editing the image.
If the date is burned into the photo, start with AI, keep the selection tight, and finish with a small manual pass only where the result still looks wrong. That gives you the best mix of speed, quality, and control.
When you have the right to edit the image, try Remove Watermark on a copy and compare the repaired corner at full size before you export. For full-frame logos rather than corner dates, the same approach is covered in how to remove a watermark from a photo.